
Screen, Window and Selection Capture
Recent version of the Mac OS have included a utility for capturing screen elements. It is called Screenshot and can be found in the Utilities folder that is inside the Applications folder on your hard-drive.
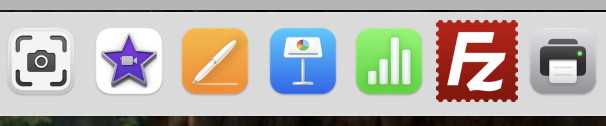
Since I use it quite a bit I keep an alias of the app on the Dock:
Starting the app by clicking on it puts a small window onto your screen with several options:

The icons perform the following actions:
 |
Capture image of the entire screen |
 |
Capture image of the selected window |
 |
Capture image of the selected area |
 |
Capture movie of the selected area |
 |
Capture movie of the entire screen |
Options provides a pop-up menu with the following options:
- Save to - allows user to set a destination for the image.
- Desktop
- Documents
- Clipboard
- Messages
- Preview app
- Other Location...
- Timer - delay before capture
- None
- 5 Seconds
- 10 Seconds
- Options
- Show Floating Thumbnail
- Remember Last Selection
- Show mouse pointer
The Capture button appears after you have made a selection for an image or a movie and, when clicked, performs the action.
Another application is the Free-ware application SnapNDrag that can be obtained at http://www.yellowmug.com/
Further information can be found at the Apple website here. This includes the old keyboard method for screen/window capture.
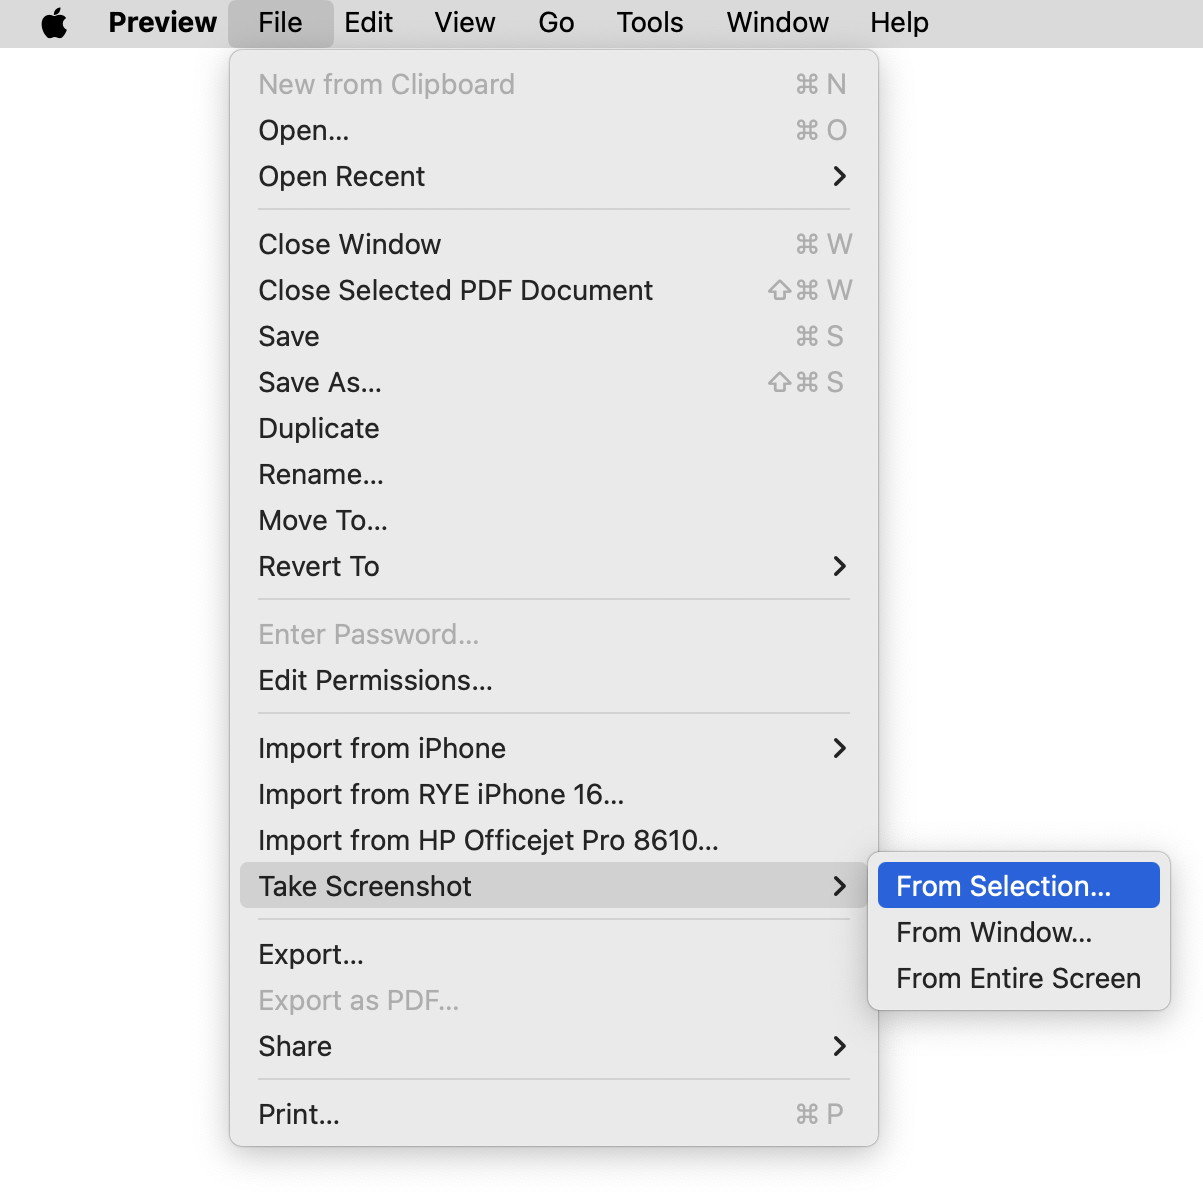
Screenshots can also be made with Preview and other applications.

Copyright: ©Macintosh Appreciation Group of Island County (MAGIC) 2013 - 2024
last updated: 30 November 2024