
Time Machine
CONTENTS
Introduction
Time Machine is an Apple Application that comes with the computer. It is a way to backup the computers internal hard drive to keep all your data safe in case of a problem with hard drive. It keeps all the data that is sent to it so that if a file gets deleted or lost it can be found and restored from the old data on the backup drive.
Data is not deleted from the backup drive. So as long as a file was created after the Time machine was first set up you will always be able to go back and restore it, even if it had been deleted.
In order be able to keep all the data from the past, present and future, the back up disk needs to be large enough to hold it all.
Set up a Storage device
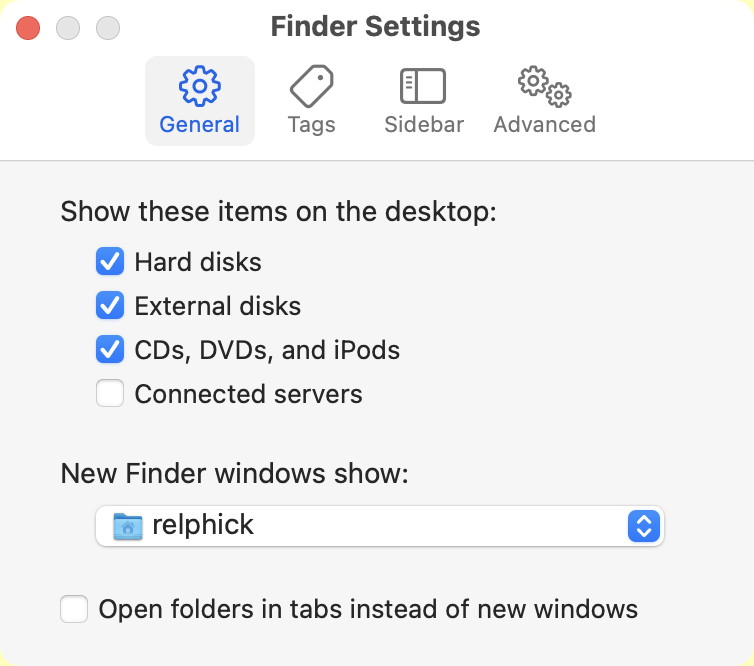
Make sure your internal Drive is showing on the desktop. If it is not the go to the Finder settings and turn on the Drives to display:
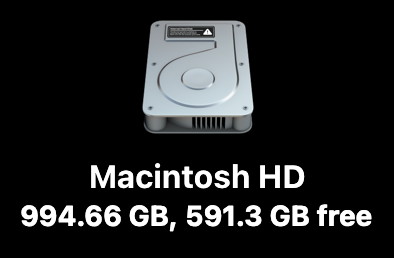
First task is to determine how big the internal drive is. You can either look at the icon for the disk on your desktop and see how big it is:
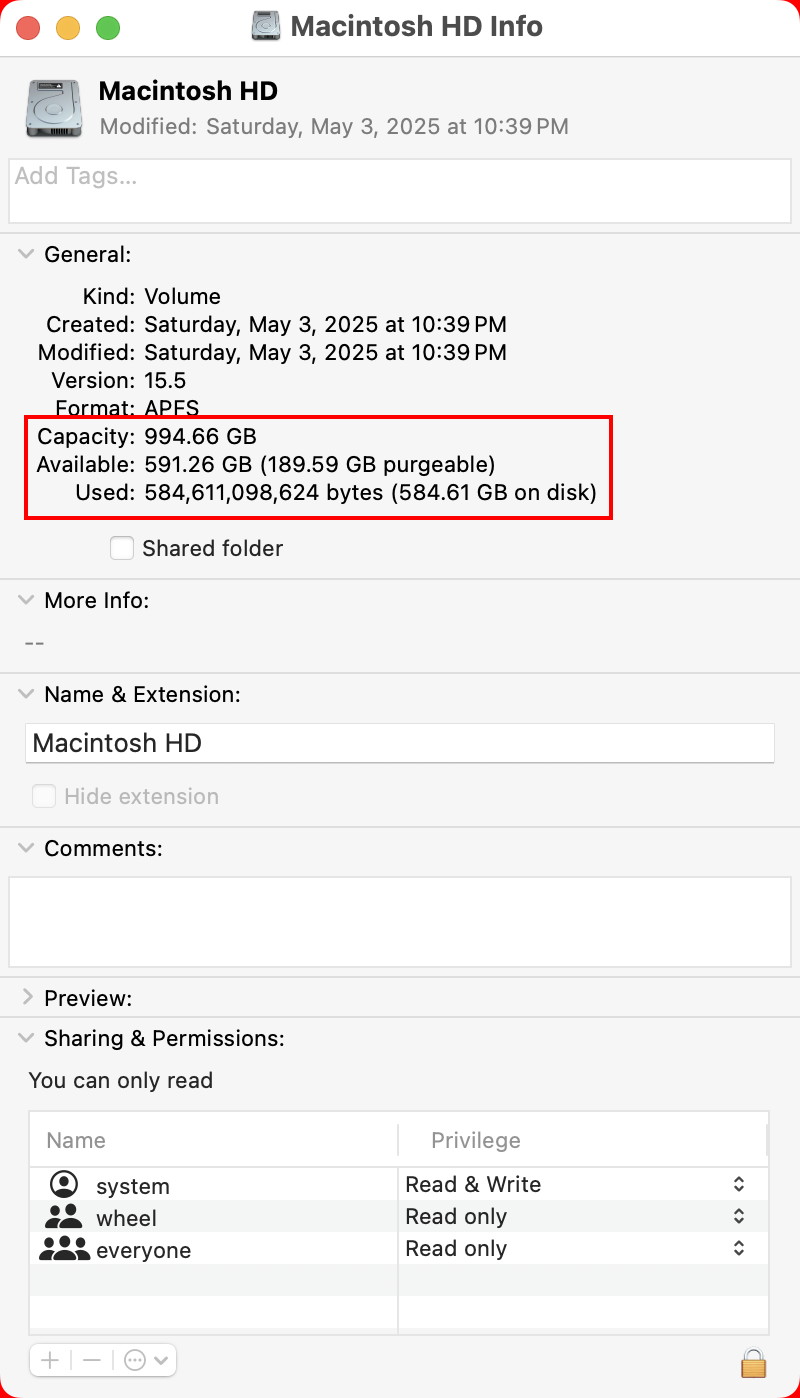
or if you do not plan to use a lot of disk space that you might click on [command]-i to figure out how mush space you will use on this hard drive during the life of the computer:
Now you need to obtain a backup drive that has three (or more) times the capacity you expect to have on the internal hard drive. purchase a device the will plug into you USB or lightning port.
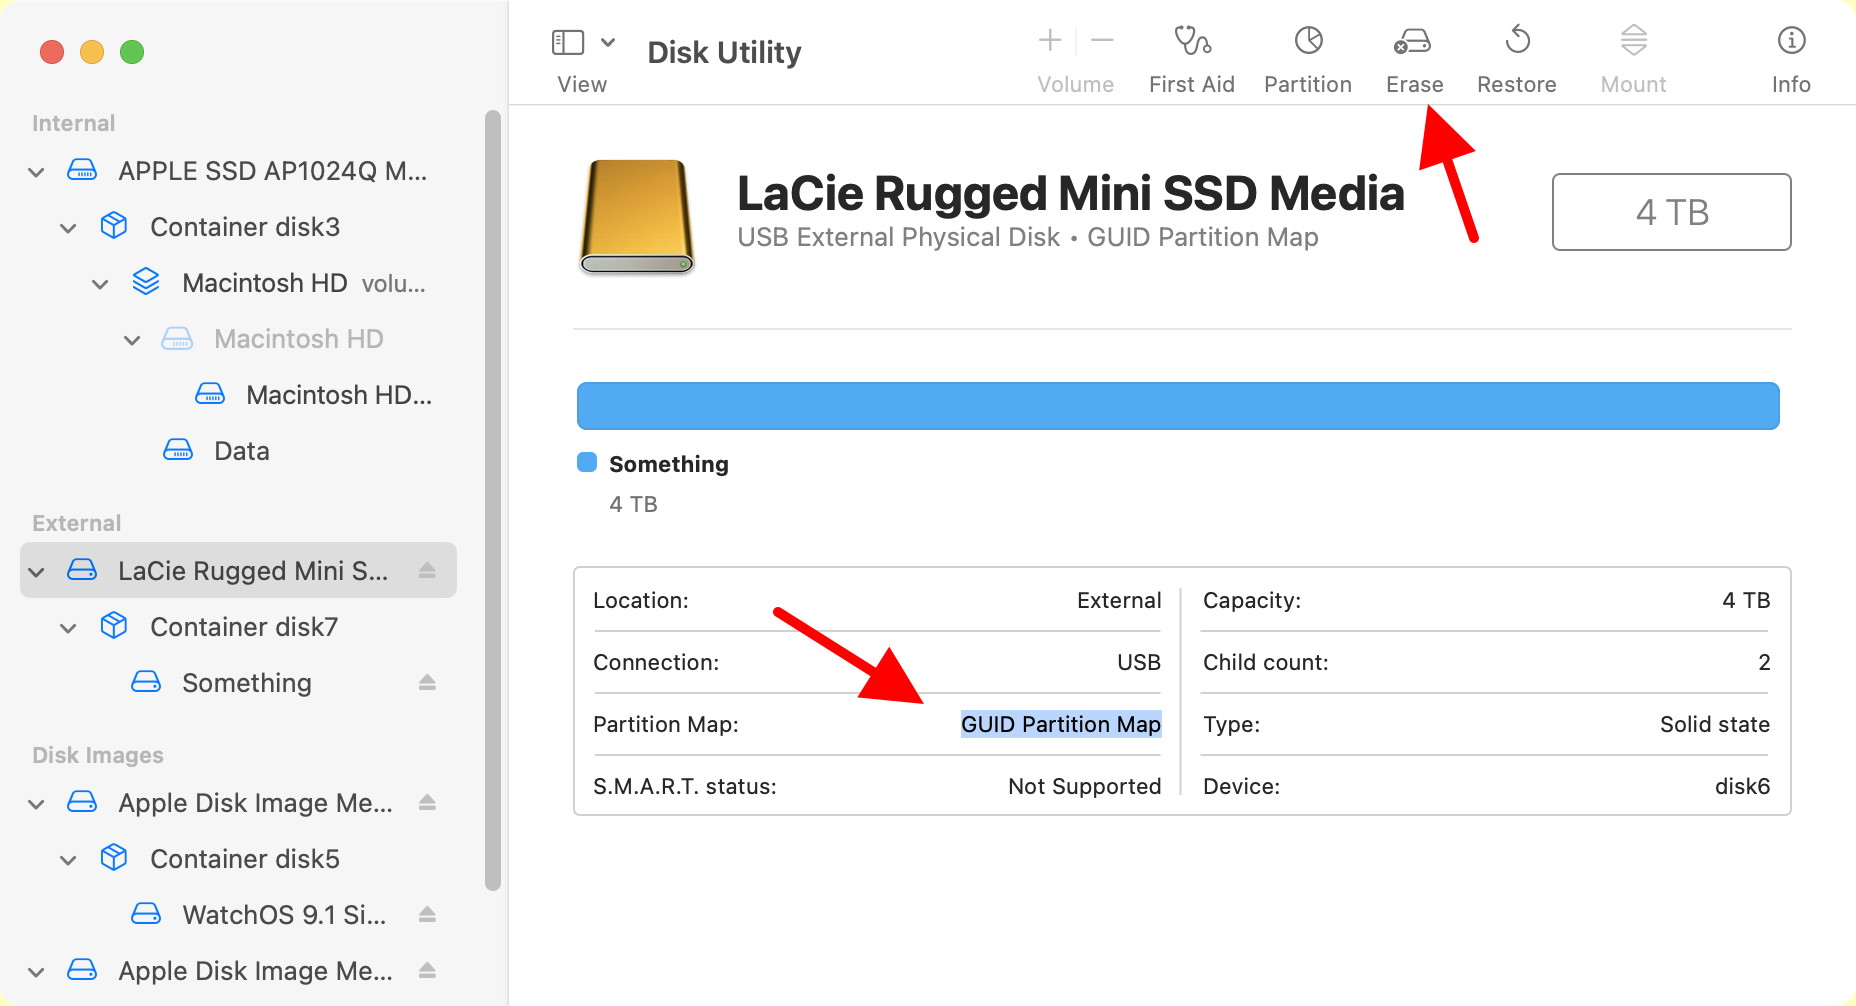
When you first plug in the new backup drive, open the Disk Utility (it is in the Utility Folder that is in the Application Folder) and use it to select the new disk, click on the erase button and then select the "APFS" Format, the "GUID Partition Map" option, and give it a good name. The select "Erase".
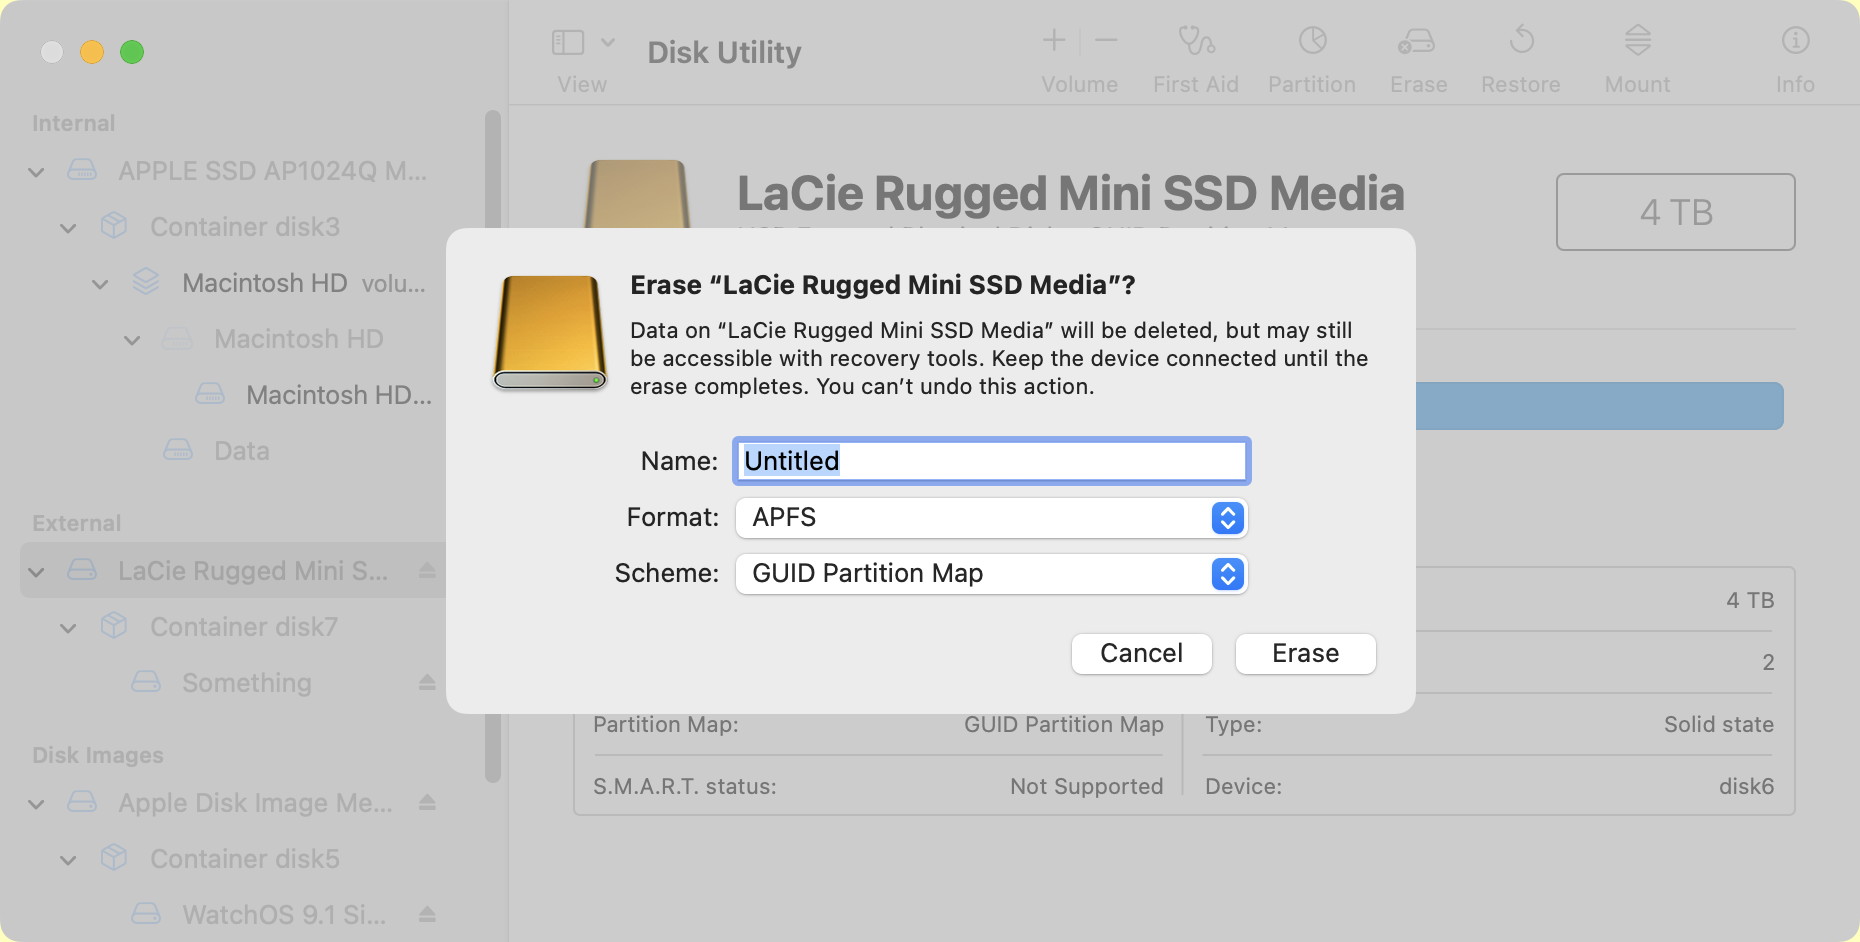
Click on the disk on the desktop and give it a good name.
Now it can be setup as the Time Machine Backup:
- Go to the System Settings and select Time Machine
- Select the new disk to be the new Time Machine
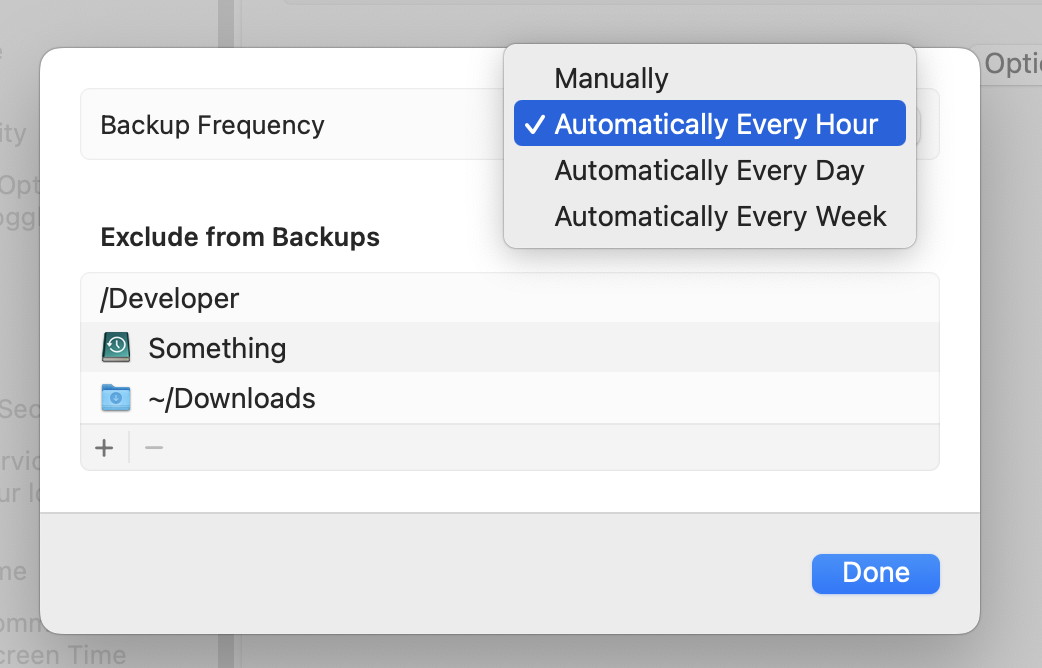
- Select the Backup Frequency (We recommend every hour)
Backup
If you selected the "Automatically Every Hour" or Day, or Week, option for the Backup Frequency then you need do nothing except be sure that the drive is connected.
If you selected the "Manual" option then you win need to use the Time Machine option in the menu bar and select "Backup Now". You can also use this option at any time no mater which Backup Frequency you selected.
Note that the first time you backup on a new backup drive it will take a while. After that it will only take a few minutes and it will happen in the background so you may not even notice it.
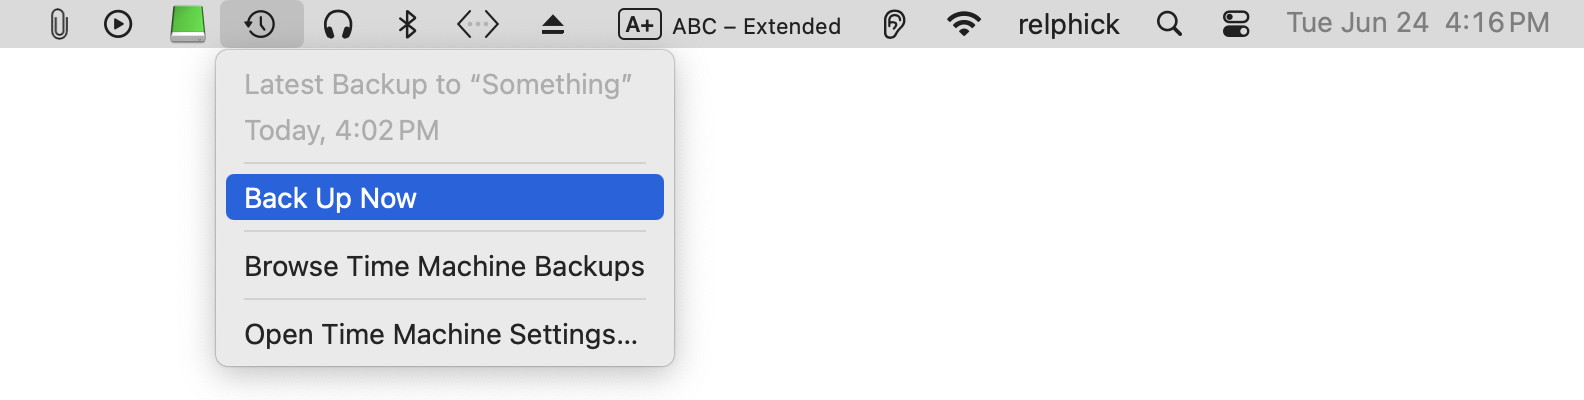
Also note that if you get this menu at any time, it will tell you when you last backed up.
Restore
Restore a file
When you need to recover a file that has been deleted, damaged, or messed up, an older version can be retrieved from Time Machine:
- Click on the folder that contained the file that you have lost or damaged

- Click on the Time Machine in the Menu bar (the one that looks like a clock)
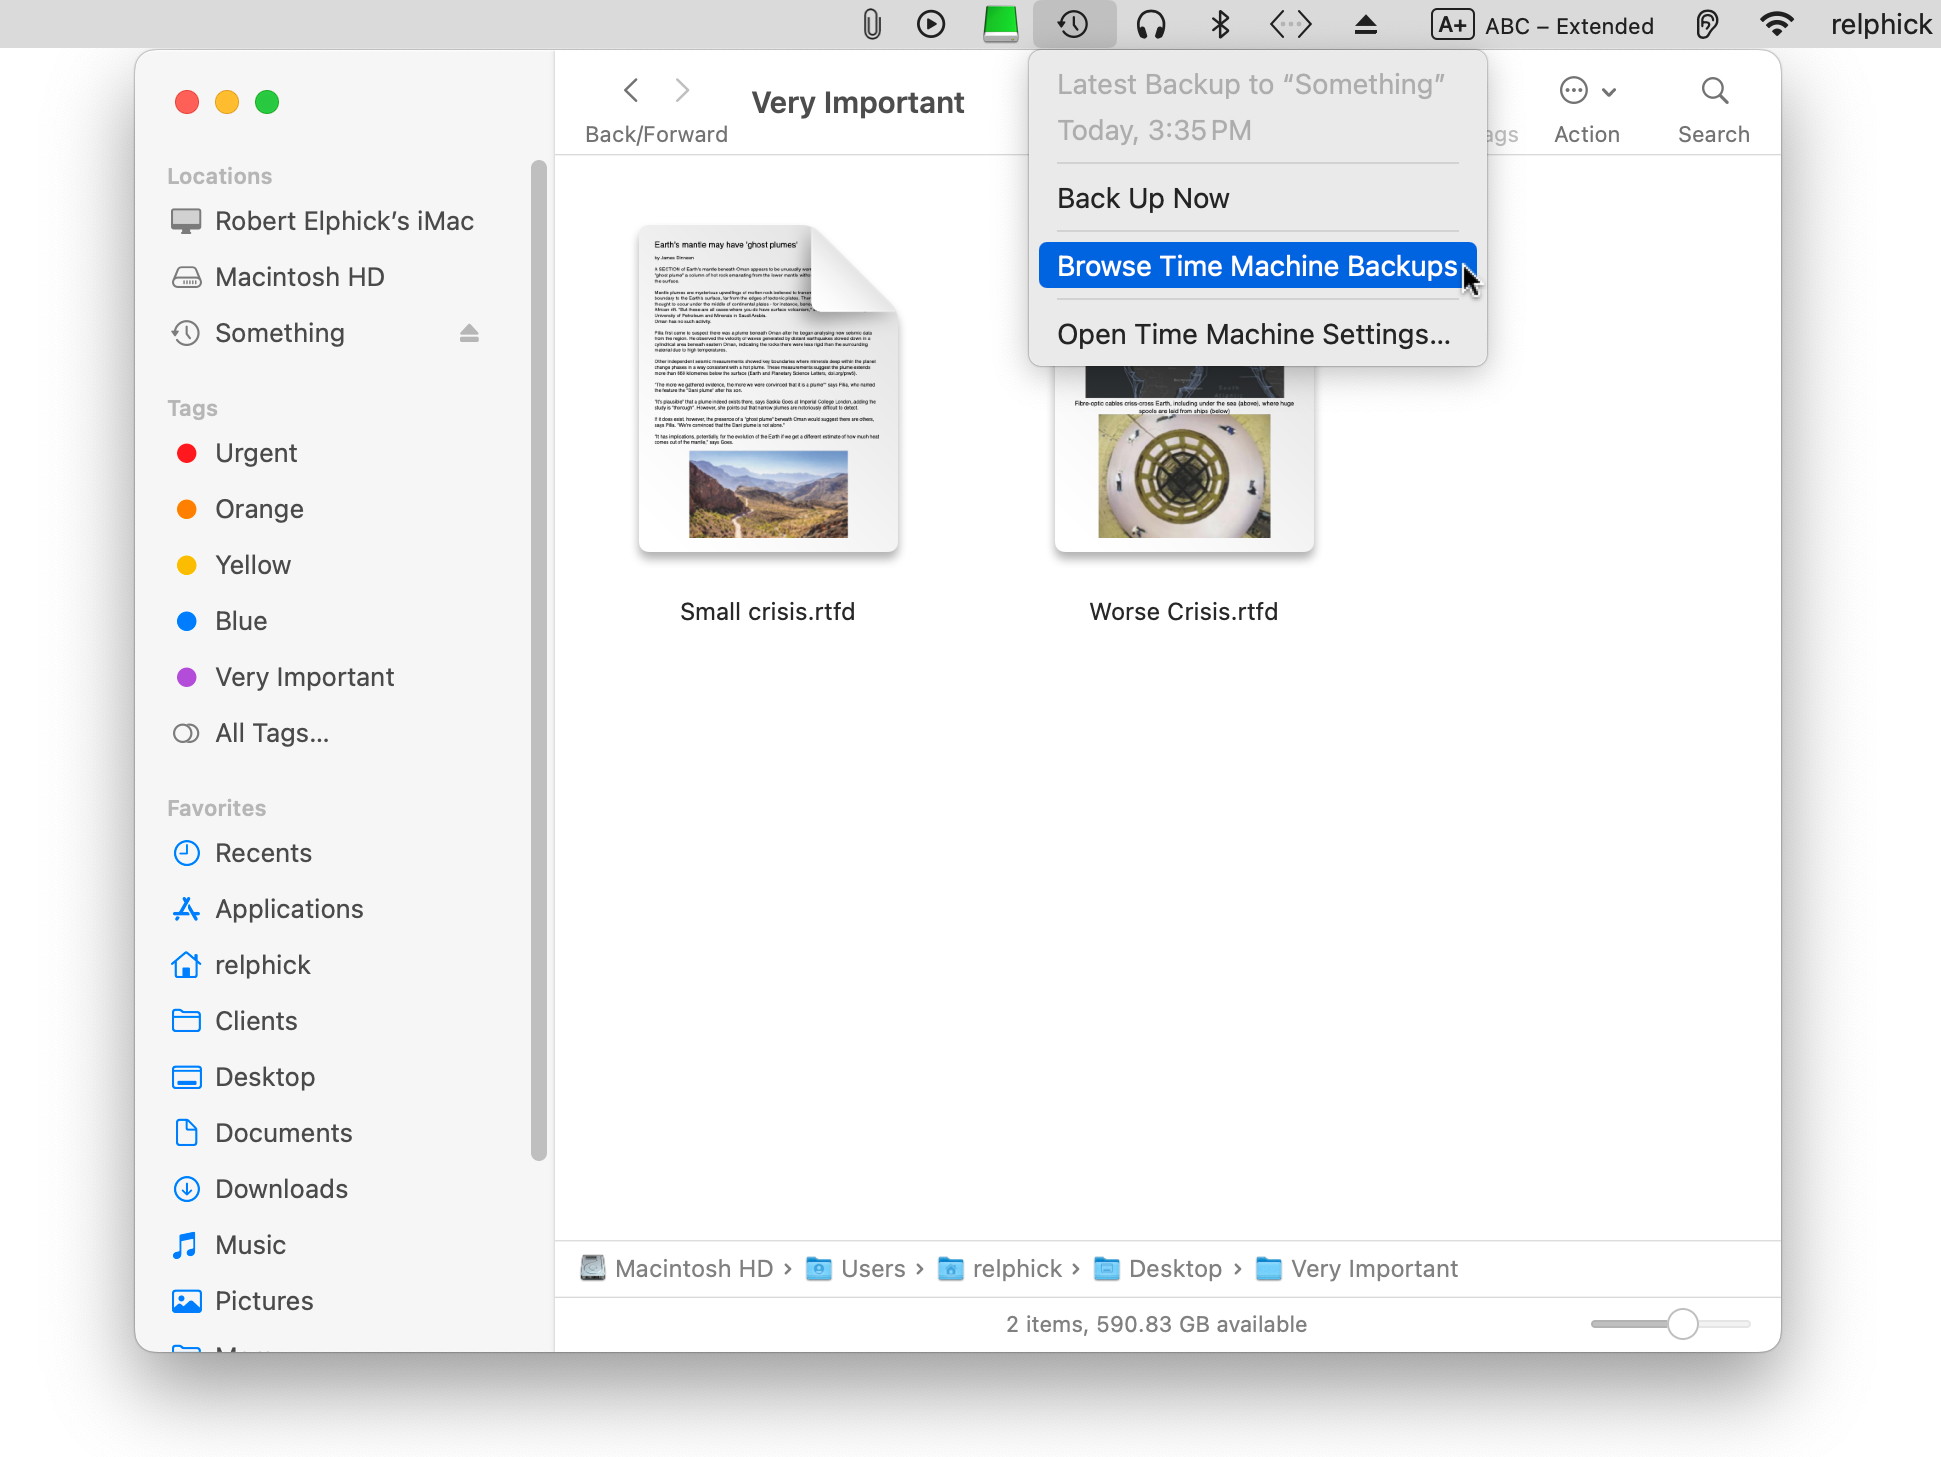
And select the "Browse Time Machine Backups" option. - In the Time Machine window, either select a date on the right side, or use the arrow to scroll back in time until you see the file you wish to restore

- Click on the file to restore
- Click on restore
Full restore
When you have purchased a new computer or just repaired a computer and need to get the Time Machine data onto the computer, it is best done with Migration Assistant which can be found in the Utilities Folder that is inside the Applications Folder.
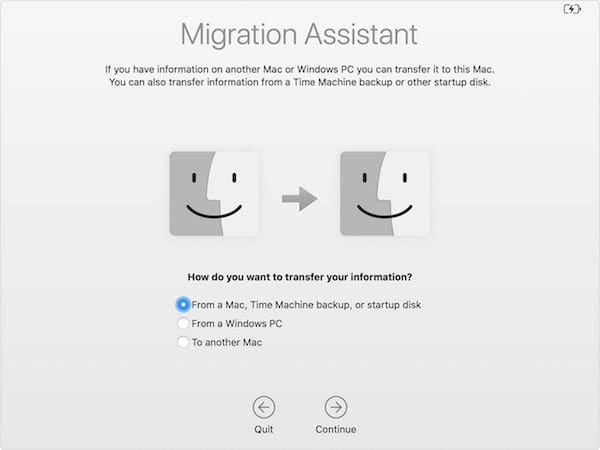
You will need to supply a password when you start Migration Assistant. Then you will see choices on whay you can load onto the new or repaired computer, the first choice is from the Time Machine disk (assuming that it is plugged in).
The current data (not old data that is on the Time Machine disk but was deleted at some point in the past) will be loaded and so the internal drive will be identical to the previous internal drive.
